Gluten-Free Oreo Balls
Highlighted under: Simple Sweet Recipes
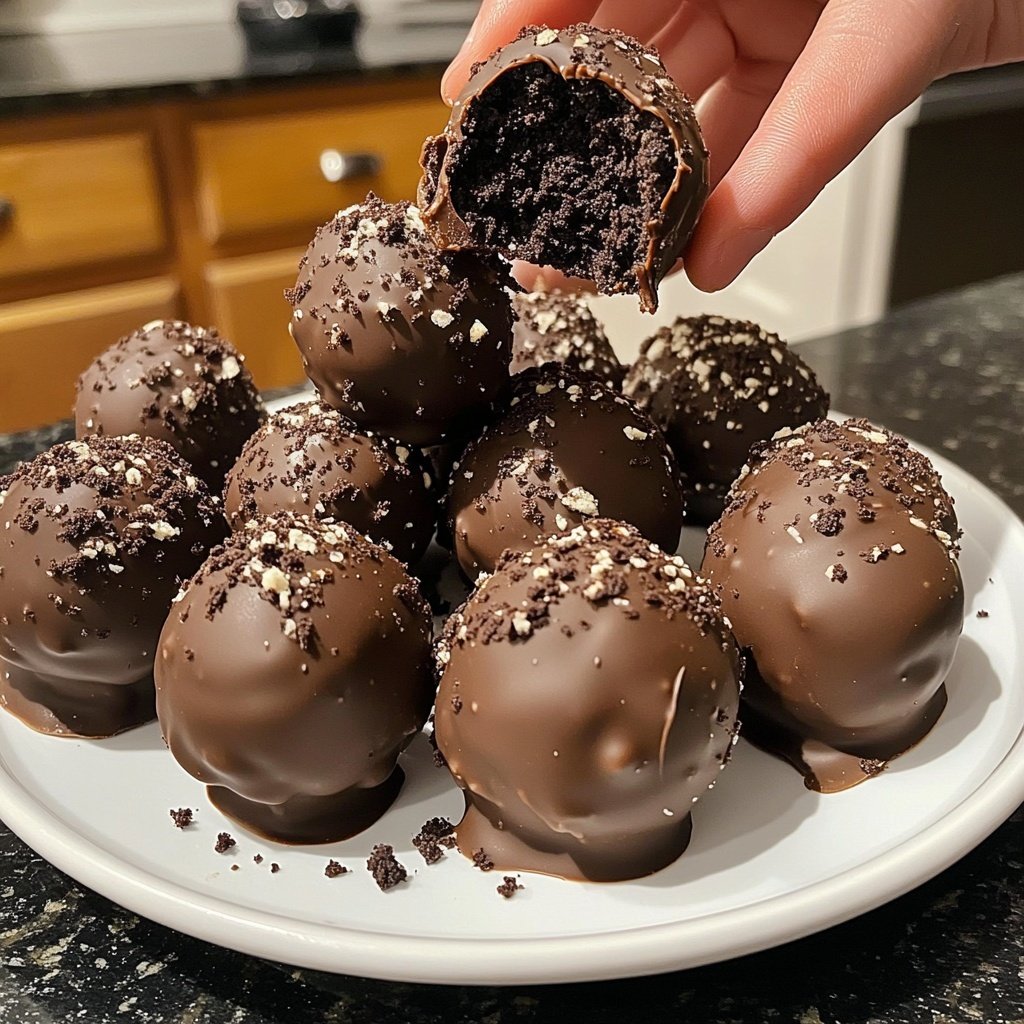
Indulge in these delightful gluten-free Oreo balls that are easy to make and incredibly satisfying. Perfect for parties or a sweet treat at home!
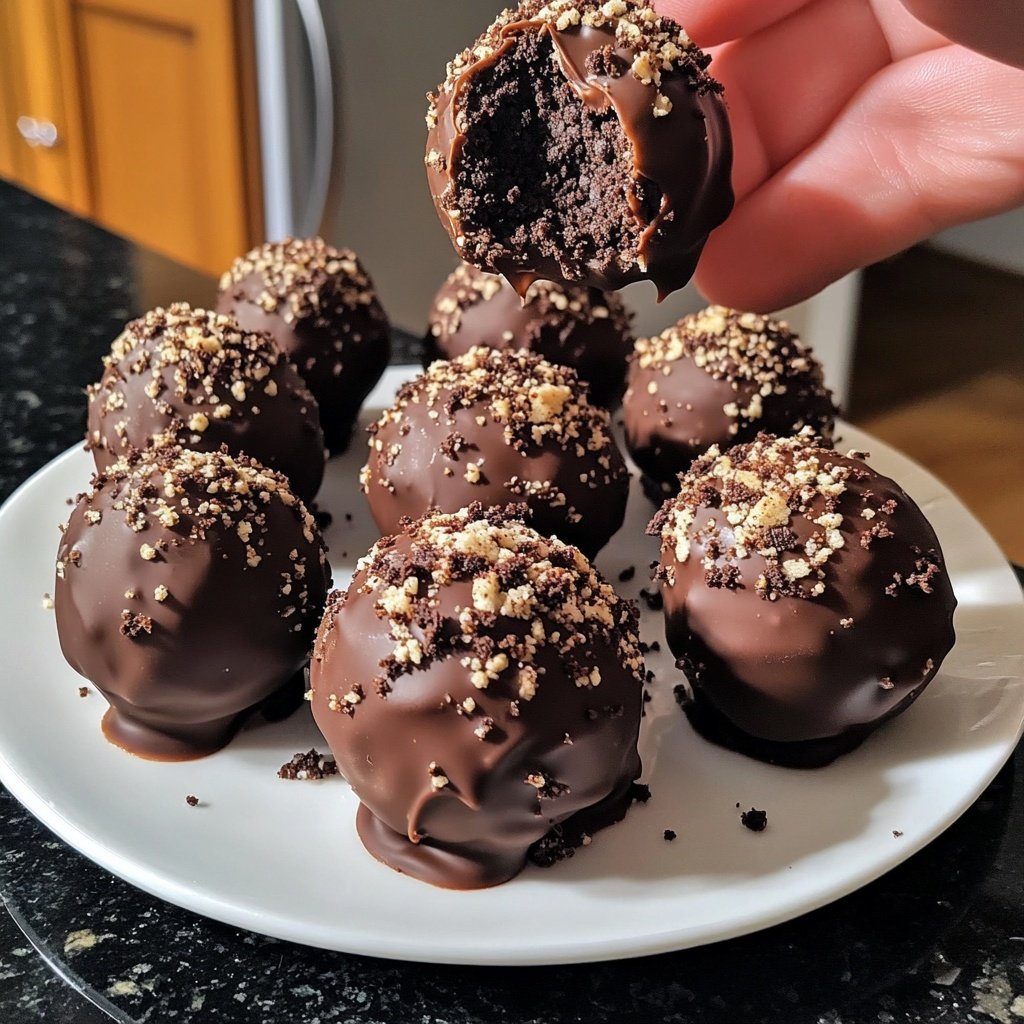
These gluten-free Oreo balls are a fun and delicious way to enjoy a classic treat without the gluten. Made with just a few simple ingredients, they are perfect for sharing or enjoying yourself!
Why You'll Love This Recipe
- Decadent and rich chocolate flavor that everyone will adore
- No baking required, making these a quick and easy treat
- Perfect for gluten-free diets, ensuring everyone can enjoy them
- Versatile—perfect for parties, gifts, or a cozy night in
A Perfect Treat for Any Occasion
Gluten-free Oreo balls are not just a delicious dessert; they are also incredibly versatile. Whether you're hosting a birthday party, a holiday gathering, or simply looking for a sweet treat to enjoy at home, these Oreo balls fit the bill perfectly. Their rich chocolate flavor and creamy filling will satisfy any sweet tooth, making them a crowd-pleaser in any setting.
These little bites of bliss can also be dressed up or down depending on the occasion. For a festive touch, consider adding sprinkles or crushed nuts to the chocolate coating. Alternatively, you can keep them simple for a cozy night in. Regardless of how you choose to serve them, they are sure to impress your guests.
Why Gluten-Free?
With the rising awareness of gluten sensitivities and celiac disease, many people are seeking gluten-free options. This recipe allows everyone to indulge in a sweet treat without worry. The use of gluten-free Oreo cookies ensures that those on a gluten-free diet can enjoy these delightful treats just as much as their gluten-eating friends.
Moreover, this recipe is a great way to introduce gluten-free options to your friends and family. They won't even notice the difference, thanks to the rich flavors and creamy texture. It's a fantastic opportunity to showcase how delicious gluten-free treats can be!
Storage and Serving Suggestions
These gluten-free Oreo balls can be stored in an airtight container in the refrigerator for up to a week, making them a perfect make-ahead treat. You can also freeze them for longer storage—just ensure they are well-wrapped to prevent freezer burn. When you're ready to enjoy them, simply pull them out and let them thaw for a few minutes before serving.
For serving, consider presenting them in decorative cupcake liners or on a beautiful platter. They can also make delightful homemade gifts when packaged in a cute box or jar. With their elegant appearance and delightful taste, they are sure to bring a smile to anyone's face!
Ingredients
For the Oreo Balls
- 1 package gluten-free Oreo cookies
- 8 oz cream cheese, softened
- Chocolate coating (gluten-free)
Make sure to use gluten-free chocolate for coating if you are strictly avoiding gluten.
Instructions
Crush the Oreo Cookies
In a food processor, blend the gluten-free Oreo cookies until they are fine crumbs.
Mix with Cream Cheese
In a large bowl, combine the cookie crumbs with the softened cream cheese. Mix until well combined.
Shape the Balls
Using your hands, shape the mixture into small balls and place them on a baking sheet lined with parchment paper.
Chill
Refrigerate the balls for about 30 minutes to firm up.
Coat in Chocolate
Melt the gluten-free chocolate coating according to package instructions. Dip each ball into the chocolate, ensuring they are fully coated.
Set and Serve
Place the chocolate-coated balls back on the parchment paper and let them set in the fridge until the chocolate hardens.
Enjoy your delicious gluten-free Oreo balls!
Pro Tips
- For extra flavor, try adding a splash of vanilla extract to the cream cheese mixture.
Tips for Perfect Oreo Balls
To ensure that your gluten-free Oreo balls maintain their shape and texture, make sure to chill them adequately after forming the balls. This step is crucial for achieving the perfect bite-sized treat. If you're short on time, you can chill them for a shorter period, but the longer they chill, the firmer they will be when coated in chocolate.
Using a high-quality gluten-free chocolate coating can significantly enhance the flavor of your Oreo balls. Look for brands that you trust and enjoy. If you prefer, you can also customize your chocolate by adding flavors like peppermint extract or sea salt for an exciting twist.
Variations to Try
While the classic gluten-free Oreo balls are delicious on their own, you can easily experiment with different flavors and mix-ins. Consider adding a spoonful of peanut butter or almond butter to the cream cheese mixture for a nutty twist. Alternatively, you can use different flavors of gluten-free sandwich cookies to create unique combinations.
Another fun variation is to roll the balls in crushed nuts, shredded coconut, or even sprinkles after coating them in chocolate. These additions not only enhance the visual appeal but also add texture and flavor, making each bite even more enjoyable.
Questions About Recipes
→ Can I use regular Oreos instead?
No, regular Oreos contain gluten. Use gluten-free Oreos for this recipe.
→ How long do these Oreo balls last?
They can be stored in an airtight container in the refrigerator for up to one week.
→ Can I freeze the Oreo balls?
Yes, these can be frozen for up to three months. Just let them thaw before serving.
→ What can I substitute for cream cheese?
You can use a vegan cream cheese alternative if you want a dairy-free version.
Gluten-Free Oreo Balls
Created by: The Foodspherehub Team
Recipe Type: Simple Sweet Recipes
Skill Level: Easy
Final Quantity: 24 balls
What You'll Need
For the Oreo Balls
- 1 package gluten-free Oreo cookies
- 8 oz cream cheese, softened
- Chocolate coating (gluten-free)
How-To Steps
In a food processor, blend the gluten-free Oreo cookies until they are fine crumbs.
In a large bowl, combine the cookie crumbs with the softened cream cheese. Mix until well combined.
Using your hands, shape the mixture into small balls and place them on a baking sheet lined with parchment paper.
Refrigerate the balls for about 30 minutes to firm up.
Melt the gluten-free chocolate coating according to package instructions. Dip each ball into the chocolate, ensuring they are fully coated.
Place the chocolate-coated balls back on the parchment paper and let them set in the fridge until the chocolate hardens.
Extra Tips
- For extra flavor, try adding a splash of vanilla extract to the cream cheese mixture.
Nutritional Breakdown (Per Serving)
- Calories: 120 kcal
- Total Fat: 7g
- Saturated Fat: 4g
- Cholesterol: 20mg
- Sodium: 50mg
- Total Carbohydrates: 15g
- Dietary Fiber: 1g
- Sugars: 10g
- Protein: 1g